How To Connect Apache Kylin With Power BI
This article discusses how to connect an ODBC interface for Kylin to work with Microsoft PowerBI.
What is Power BI?
Power BI is a data visualization tool provided by Microsoft which helps you find quick meaningful insights into your data and create customized interactive reports with visual analytics. You can download Power BI for windows from https://powerbi.microsoft.com/en-au/desktop/.
PREREQUISITES:
- Power BI
- Apache Kylin 4.0.1
- ODBC Driver for Apache Kylin
Step 1: Download ODBC Driver from Kyligence
Kyligence is providing a free cost ODBC driver for Apache Kylin which you can download from here. You will be guided to fill out the form, kindly fill it out and check your email to get the zip file of ODBC Driver. Now you can extract the zip file and install your required version x64 or x86.
This method is not mainly used but you can compile it from the source code (in the "odbc" sub-folder) since Apache Kylin doesn't provide ODBC Connector itself. You can download the source code from here.
Step 2: DSN Configuration
The following steps will help you to add Kylin ODBC to your Data Sources file.
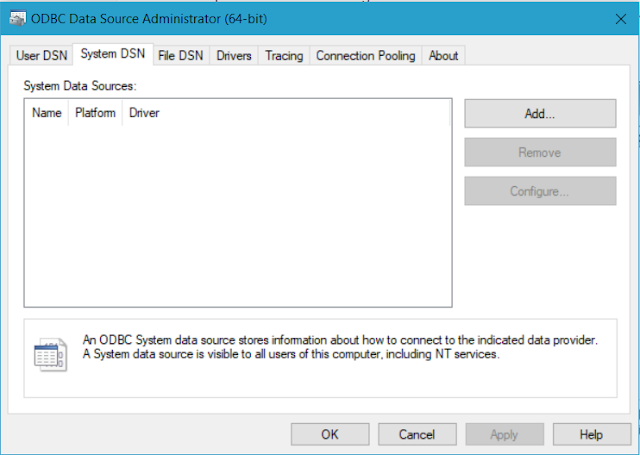
Step 2.1: In your search box, write ODBC Data Sources then you will be directed to this window.
Step 2.2: Open the "System DSN" tab and click "Add", you will see Kyligence ODBC Driver for Apache Kylin listed as an option, click "Finish" to continue.
Step 2.3: A popup appears where you have to set DSN Name as "KylinDSN" and Protocol as HTTP. Server Host will be the IP of your Kylin Rest Server and Port will be 7070. The Username and Password will be ADMIN and KYLIN respectively. When you press the "Connect" button, your projects will show up below where you can select your respective project, Click "Done" to continue.
Note: Make sure your Apache Kylin is running properly, otherwise the connection will be failed.
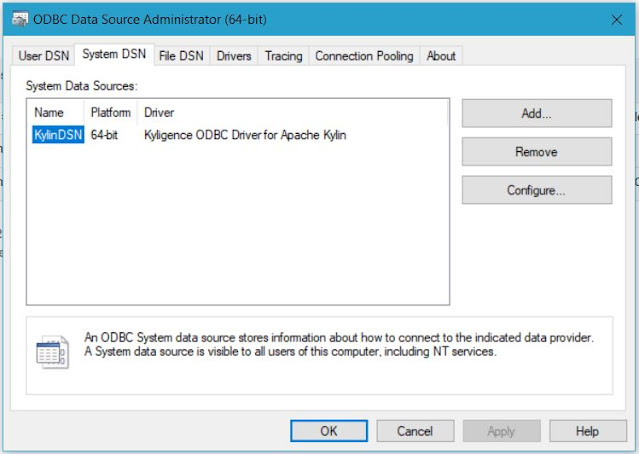
Step 2.4: Click "Done", and you will see your new DSN listed in the "System Data Sources", you can use this DSN afterward.
Step 3: Open PowerBI
Click the "Get Data" tab then select ODBC.
Choose your just created DSN.
Select the tables you want.
Now you can visualize your data easily in Power BI.
Conclusion:
Following these steps, you can connect Apache Kylin with Power BI using ODBC Connector. To connect your Ubuntu Virtual Machine with Windows Host, you can follow this tutorial.
Good Luck!


No comments:
Post a Comment
Thank you for submitting your comment! We appreciate your feedback and will review it as soon as possible. Please note that all comments are moderated and may take some time to appear on the site. We ask that you please keep your comments respectful and refrain from using offensive language or making personal attacks. Thank you for contributing to the conversation!