How To Install Oracle Database 19c In Windows
Overview
Oracle provides a multi-model database management system including high-performance versions of databases. While exploring new databases, Today, we will check out how to install Oracle Database 19c on Windows easily.
Installing Oracle Database
First, download Oracle database 19c from their official website (https://www.oracle.com/database/technologies/oracle-database-software-downloads.html). Choose the Windows x64 version which provides Enterprise Edition as well as Standard Edition 2. After downloading, a zip file will be installed on your computer which you have to unzip and place on the root of your drives (C:/ or D:/).
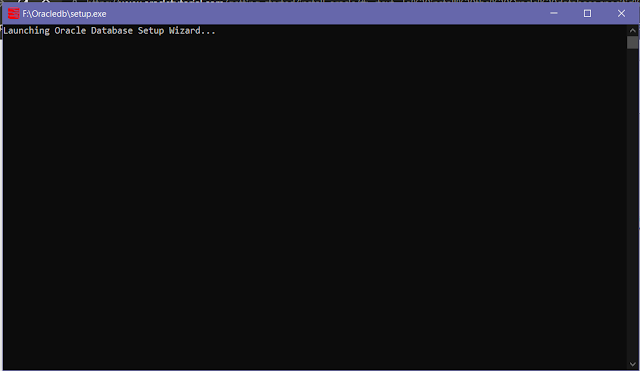
After double-clicking the setup.exe, the Oracle command prompt will start up which will further open your setup wizard.
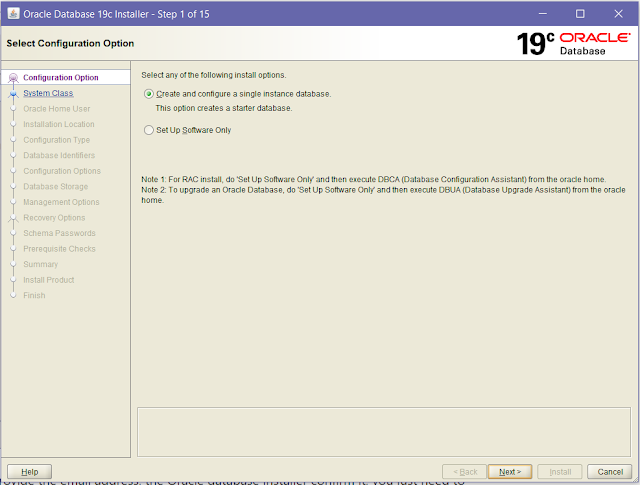
Step 1: Select Configuration Option
Select the option "Create and configure a single instance database".
Step 2: Select System Class
Choose the first option "Desktop Class" and click the Next button.
Step 3: Specify Oracle Home User
Choose the option - "Use Virtual Account"
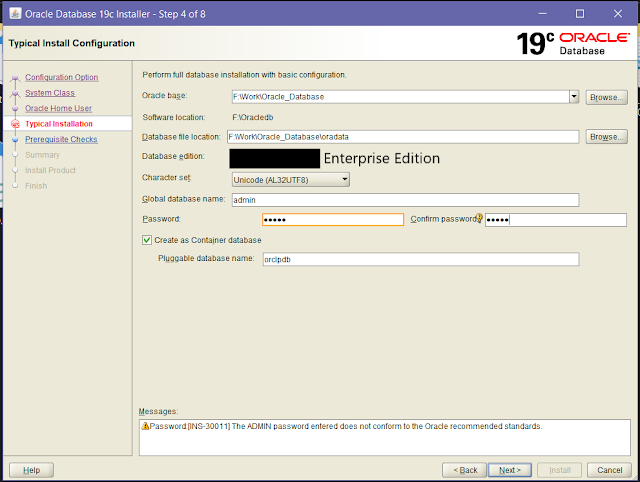
Step 4: Typical Install Configuration
Choose the directory for Oracle base. Select Database edition as "Enterprise Edition". Then edit your password to click Next.
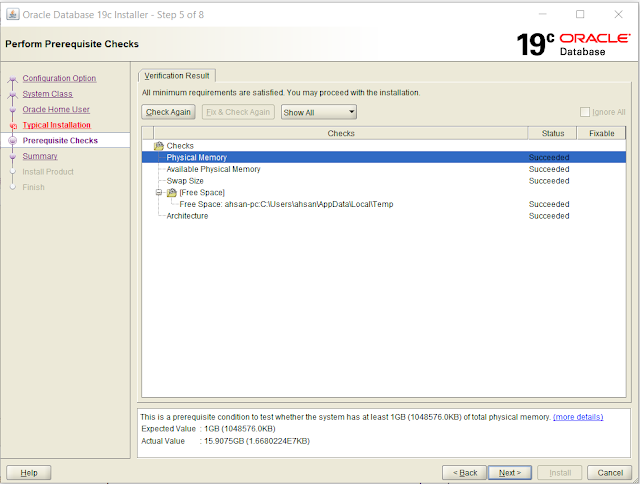
Step 5: Perform Prerequisite Checks
Oracle will check your system for available space. If succeeded, click Next.
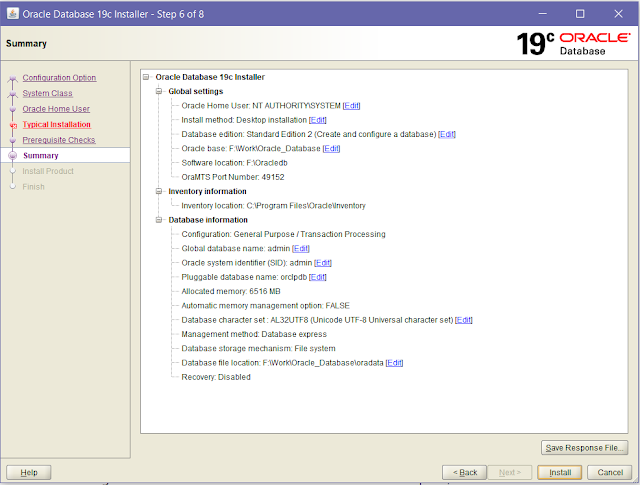
Step 6: Summary
A summary will be displayed. Click Next.
Step 7: Install Product
Product installation will begin and it will take some time to complete the setup.
Step 8: Finish
Once installation completes successfully, the installer will inform you as shown in the following screenshot. Click the Close button to close the window.
Finally, You can open this URL (https://localhost:5500/em) to open the Oracle database manager.
More Resources:
- Oracle Database Official Documentation
- How To Change the Oracle Database Listener's Server IP Address?
Thanks for reading!
To conclude, We have looked into how to install Oracle database 19c. In the next blog, we will see how to play with this database. If any query occurs feel free to ask in the comment section.
See you next time,
@TechAE





No comments:
Post a Comment
Thank you for submitting your comment! We appreciate your feedback and will review it as soon as possible. Please note that all comments are moderated and may take some time to appear on the site. We ask that you please keep your comments respectful and refrain from using offensive language or making personal attacks. Thank you for contributing to the conversation!